The Unity 6 Managers Framework

The Managers Framework is a scripting+ template for beginner to intermediate programmers to quickly start new projects with all common managers setup and ready to go as well as useful extras.
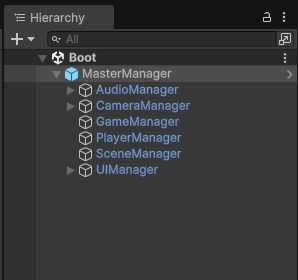
Master Manager, UI Manager, Player Manager, Audio Manager, Scene Manager, Game Manager, Camera Manager
Built on Unity 6, URP, and Cinemachine 3
Download Managers Framework from the Asset Store: https://assetstore.unity.com/packages/slug/302212
TABLE OF CONTENTS
Please read through the Quick Start and Sample Scenes first as they contain important details on using the package!
- Quick Start
- Sample Scenes
- Master Manager
- UI Manager
- Player Manager
- Audio Manager
- Scene Manager
- Game Manager
- Camera Manager
Quick Start
From Unity Hub, start a new project using the Unity 6+ editor and select the Universal 3D Core template, or load an existing project that is using Unity editor 6+ and URP. Once your new project has loaded, in the top toolbar, click on Window > Package Manager. Find the Managers Framework in “My Assets” and install it. The package can be found under “My Assets” once you have downloaded it from the Unity Asset Store.
The package gets installed beneath your Assets folder in the Packages folder. Find Managers Framework there and open the Scenes folder inside of it. You’ll need to load the four included sample scenes there into the Build Profiles Scene List. In the top menu bar, click on File > Build Profiles. In the popup click on Scene List. Remove the default scene there by right clicking it and selecting “Remove Selection”. Now you can click on the four scenes in the folder Packages > Managers Framework > Scenes that you opened before and drag them into the scene list in the popup window. You can now close the popup window.
Double-click the “Boot” scene in the Packages folder location to load it and press Play to run the scene. The first time you run the scenes, URP will take several seconds to load the materials in each scene, after that you’re ready to go.
You’re now ready to start building your project using Managers Framework!
Sample Scenes
The Boot scene contains only the Managers Framework Prefab. This is where all of your managers can be found, including the UI. Always test your work from the Boot scene as this is the first scene and always needs to load before anything else.
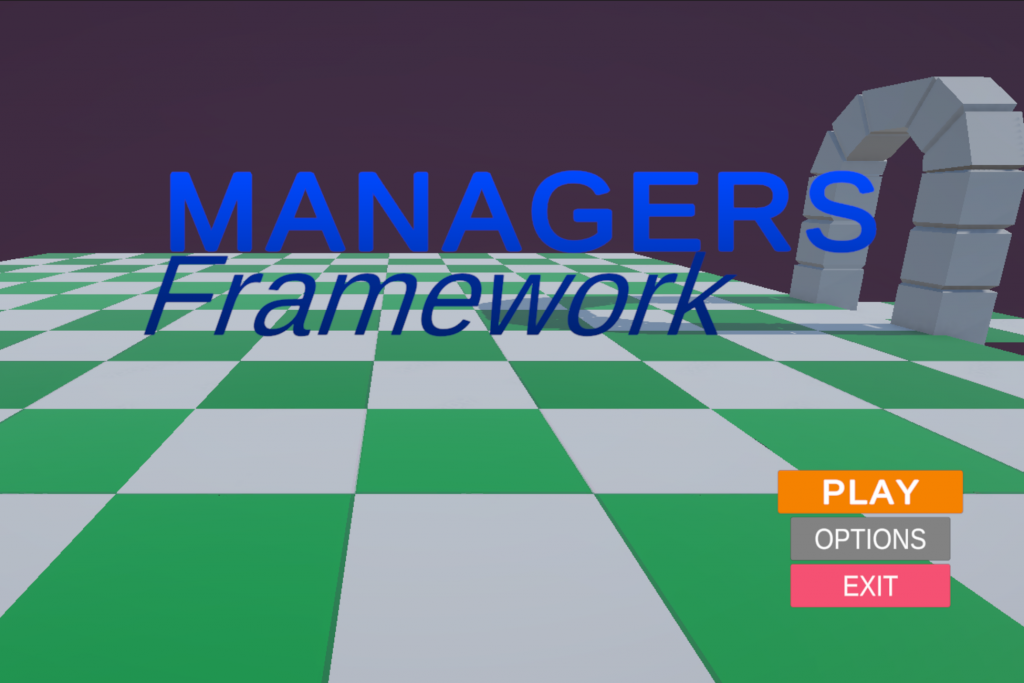
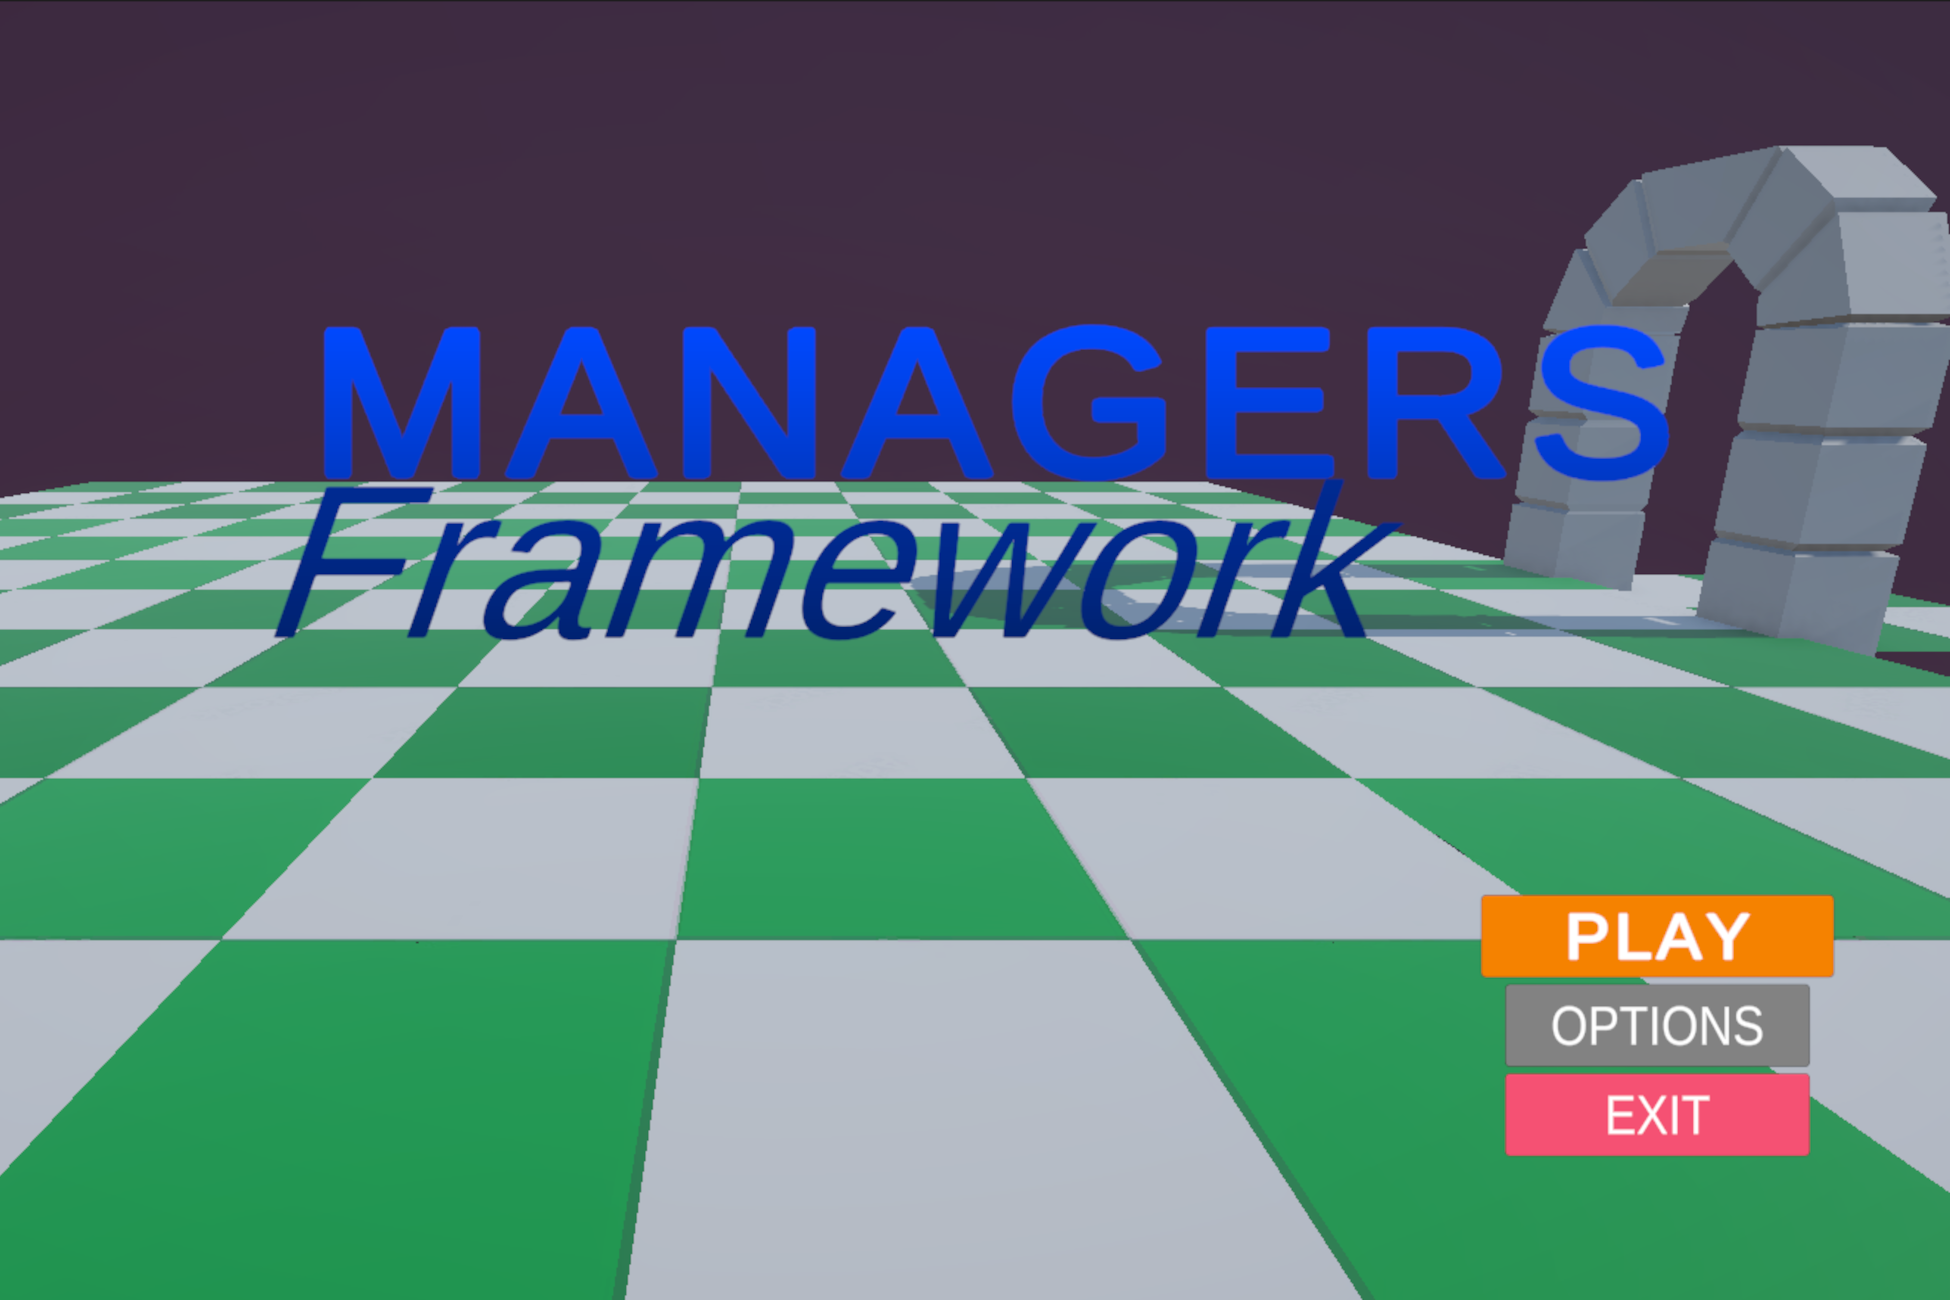
Once the Boot scene is done loading, the Title scene will be loaded. This scene contains your projects Title artwork as well as the Title Screen UI. Clicking on the Options button in-game will open up the Options UI Screen element template which contains Music and SFX volume sliders. You can add more options here using the UI Manager.
Clicking on the Play button will load the Game scene “World_01”. After the scene is done loading, the player will be spawned at the “NewGameSpawnpoint” position. The scene shows a simple environment as well as an archway which has a “ChangeWorldScene” GameObject underneath of it. While in a world scene, press the escape button to open the In-Game Menu Screen.
Move the player under the archway and the last scene “World_02” will load with a similar example environment.
These scenes should be used as the starting scenes for your project. You can edit the files directly in the Packages folders (as long as you don’t re-download the Managers Framework) or you can drag them into your Assets folder as you want to modify them and build on them from there. If you decide to edit the files in the Packages folder directly, you should consider converting the package into your own version so that none of your work accidentally gets overwritten by the Managers Framework Package.
Master Manager
The Master Manager is a Service Locator Master Singleton. It lives between scenes, which means ALL of the managers live between scenes because they are children, and is used to control and access all of the other managers.

If you would like to expand your project by adding another type of manager, first add a GameObject with your new Manager script attached to it as a child to the Master Manager like the other managers. Then you can add your manager script to the Master Manager by clicking on the MasterManager GameObject in the Hierarchy, then double-clicking the MasterManager script on the Master Manager Component to open the script in your code editor. Add the name of your new manager script like in the code line examples below.
public GameManager GameManager { get; private set; }
public SceneManager SceneManager { get; private set; }
public UIManager UIManager{ get; private set; }
public PlayerManager PlayerManager { get; private set; }
public CameraManager CameraManager { get; private set; }
public AudioManager AudioManager { get; private set; }
“public <NameOfYourNewManagerScript> <referenceToTheScript> { get; private set; }”
Then add your version to below these lines of code:
GameManager = GetComponentInChildren<GameManager>();
SceneManager = GetComponentInChildren<SceneManager>();
UIManager = GetComponentInChildren<UIManager>();
PlayerManager = GetComponentInChildren<PlayerManager>();
CameraManager = GetComponentInChildren<CameraManager>();
AudioManager = GetComponentInChildren<AudioManager>();
“<referenceToTheScript> = GetComponentInChildren<NameOfYourNewManagerScript>();”
That’s it! Now you can edit your new manager and call it’s methods from any other script.
The Master Manager accesses the other managers from any script like In the example below, the audio manager is accessed from an unrelated script as shown:
MasterManager.Instance.AudioManager.PlaySFX("AudioClipName");Or for instance, you could access a GameState variable from the Game Manager like so:
if(MasterManager.Instance.GameManager.GameState.PlayerEnteredWorld_02)
{

    Debug.Log("Player has already been in World_02");

}
UI Manager
The UI Manager allows you to control all the games UI elements at a high level. It is designed to be expandable so you can continue to add UI elements using the elements already included as examples. The UI Manager also comes with a Title Screen template, as well as an options screen and an in-game menu screen. Each screen has it’s own View and Controller scripts. Buttons, UI controls, and any code that modifies the UI elements will go in the View scripts, and any code that executes after a button or UI element change goes in the Controller scripts.
UI Elements start inactive and then are activated by the UI Manager when in use. The following code snippet activates a UI Element through the UI Manager. UI code can be added in the UI Manager method being called to execute along with the activating/deactivating element.
MasterManager.Instance.UIManager.SetOptionsScreenActiveState(true);The UI Manager also comes with example elements commonly used in Unity projects. For instance, the InGame Menu and OptionsMenu both come with a BlackoutScreen element which darkens everything behind the menu while also blocking raycasts which prevents any mouse clicks from passing through and interacting with the game or anything behind the open menu.
Player Manager
The Player Manager holds all information about the Player Character as well as the Player Prefab. After assigning your player prefab (or using the template player prefer that is included) you can spawn your Player using the code below:
MasterManager.Instance.PlayerManager.SpawnPlayer(GameObject.Find(_nextSpawnPointName).transform.position, Quaternion.Euler(0, 0, 0));The SpawnPlayer() method takes the name of the spawnpoint found in the scene where you want the player to spawn. In the example scene “World_01” included in the sample scenes, you will find a GameObject in the scene named “NewGameSpawnPoint” inside the Empty GameObject named “PlayerSpawnPoints”. This is the default spawnpoint that the Player GameObject will be spawned at; you can move it to whichever position you want the Player to initially spawn at.
Also found in the scene is a GameObject called “ChangeWorldScene”. This GameObject contains a collider where if the Player enters it during runtime, it will change the scene and spawn the player the next specified spawnpoint. The ChangeWorldScene GameObject also has a Component called “Change World Scene” which takes the Scene name that will be loaded and the name of the spawnpoint in the next Scene where the Player will spawn. Add these GameObjects in doorways, pathways, or anything else that will cause a Scene change when the player enters the collider.
The Player Manager contains a reference to an example Player prefab that you should use and customize to fit your specific project.
Audio Manager

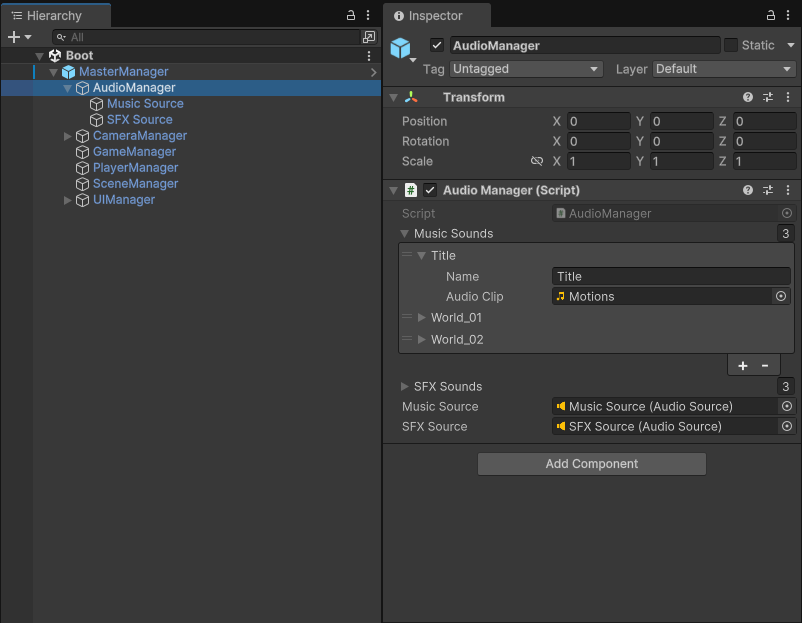
The Audio Manager is all set up and ready for you to add music and sound and play them in your game. Drop your Music and Sound Effects files into the Assets Folder (Assets/Audio/Music and Assets/Audio/SFX) and then drag them into the AudioManager under “Music Sounds” and “SFX Sounds”. Give them a title in the AudioManager interface which you can then use to play the file in a script as shown below:
//Play music asset
MasterManager.Instance.AudioManager.PlayMusic("NameOfYourAudio");

//Play SFX asset
MasterManager.Instance.AudioManager.PlaySFX("NameOfYourAudio");
You can also control your Music and Audio Sources found in your Audio Managers children GameObjects, in the UI interface or in a script such as the example used in the SettingsMenu included in the UI Manager:
//music volume
MasterManager.Instance.AudioManager.SetMusicVolume(0.75);

//SFX volume
MasterManager.Instance.AudioManager.SetSFXVolume(0.75);
Scene Manager
The Scene Manager handles changing scenes and provides a template for adding callbacks to run code specific to a scene once it is done loading. Because your game scenes will often use similar code each time, call LoadWorldScene() for your game scene changes and use LoadBaseScene() for scenes such as the Title screen or a character customization scene if you would like to have that in your project.
Base scenes are handled automatically out-of-the-box from the Boot scene to the Title scene and then the first Game scene once the user presses the “Play” button from the Title menu. More Base scenes can be added by adding them to the SceneManager.
To Change game scenes you can use the code below:
MasterManager.Instance.SceneManager.LoadWorldScene(NextSceneName, NextSpawnPointName);This is already handled by the “ChangeWorldScene” component found on the “ChangeWorldScene” game object in the under the “Environment” placeholder GameObject in the example scene “World_01” for reference.
Game Manager
The Game Manager handles game state as well as general game methods such as “PlayGame()” and “ExitGame()”. Default game states handled by the Game Manager are “GameState.Playing” and “GameState.Paused”. You can change the gamestate to paused by using the code below:
MasterManager.Instance.GameManager.ChangeGameState(GameState.PAUSED);Changing the game state to PAUSED will prevent player movement found in the included default character controller. You can add additional game states by adding them to the enum at the top of the GameManager class and then use that game state in your code.
Camera Manager
The Camera Manager is used to organize, modify, and activate Cinemachine 3 cameras, new in Unity 6. There are three children GameObjects under the Camera Manager: the Main Camera, the player Cinemachine Camera, and the Title Screen Camera. You can add as many Cinemachine Cameras as you need to the Camera Manager where you can control which one is active and which settings are being used.
By default, the Camera Manager will activate the TitleScreen Cinemachine Camera when the Title scene loads, and it will activate the Player Cinemachine Camera when a world scene loads. You can edit the Player Cinemachine camera to change the camera behavior including 3rd person, first person, follow etc. The full documentation for Cinemachine 3 can be found here: https://docs.unity3d.com/Packages/com.unity.cinemachine@3.0/manual/index.html
Change Log
2.2.3 – Public Release

